BIG-IP Template Creation - DHCP (VMware)
Description
In this lab, we will create templates used for provisioning BIG-IP with DHCP issued IPs. Refer to below AskF5 links if you need further details.
Step 1: Download BIG-IP ova image
- Access https://downloads.f5.com/
- Navigate to your desired BIG-IP version and from the Virtual-Edition list of images, select the BIGIP-<version>.ALL_1SLOT-vmware.ova. In test environments, this image will help to save on disk space.
Step 2: Deploy and Boot OVA file
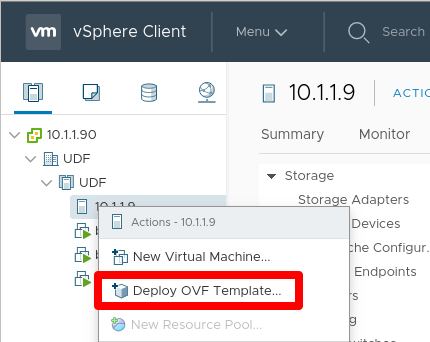
Right click the host or folder and select Deploy OVF Template…
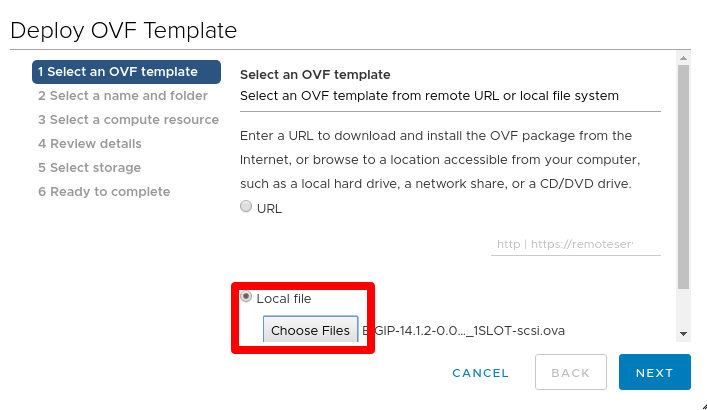
Select Local file > click Choose Files > select the downloaded ova file
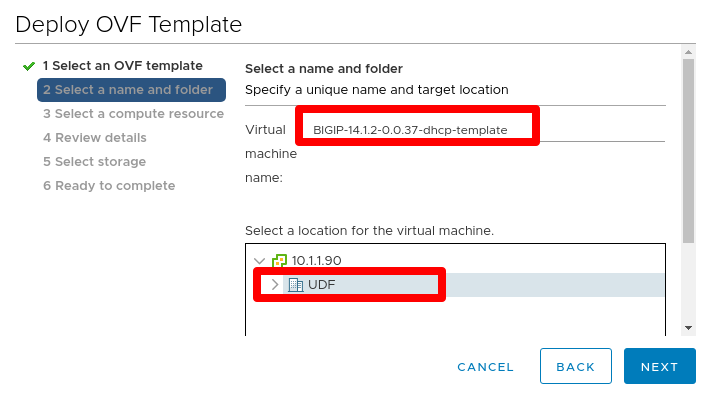
Specify a unique name and target location for the template
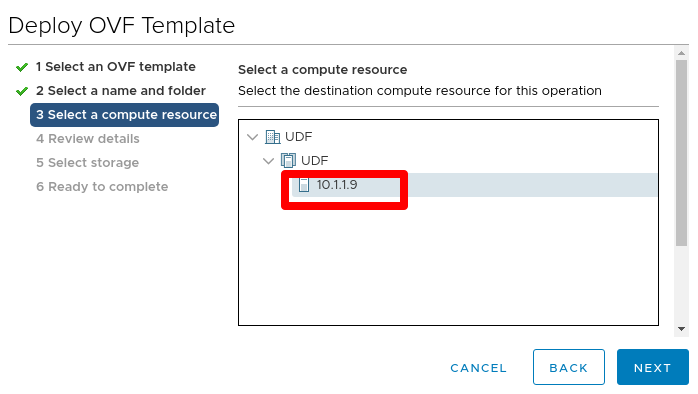
Select the destination compute resource for the template
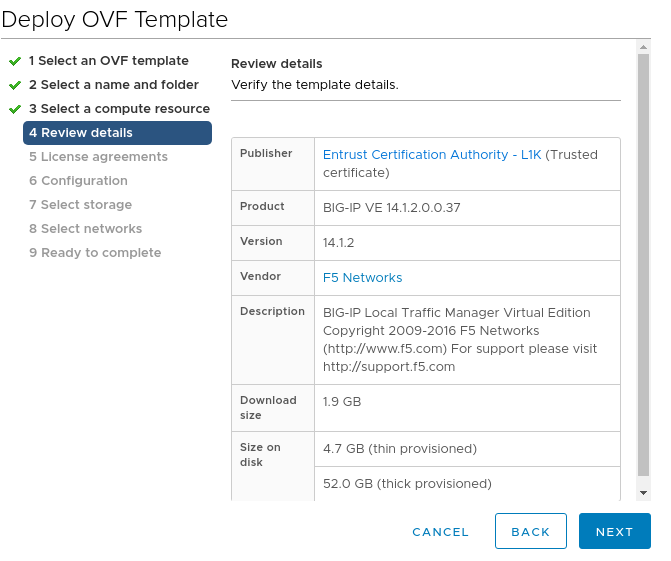
Review details
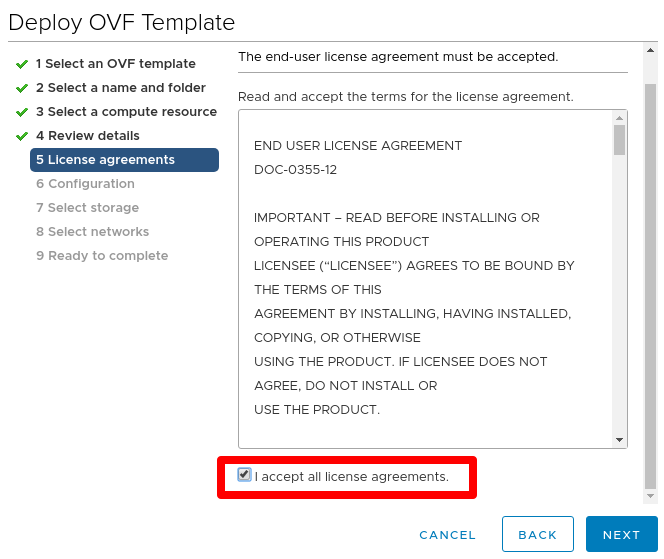
Review EULA and check I accept all license agreements.
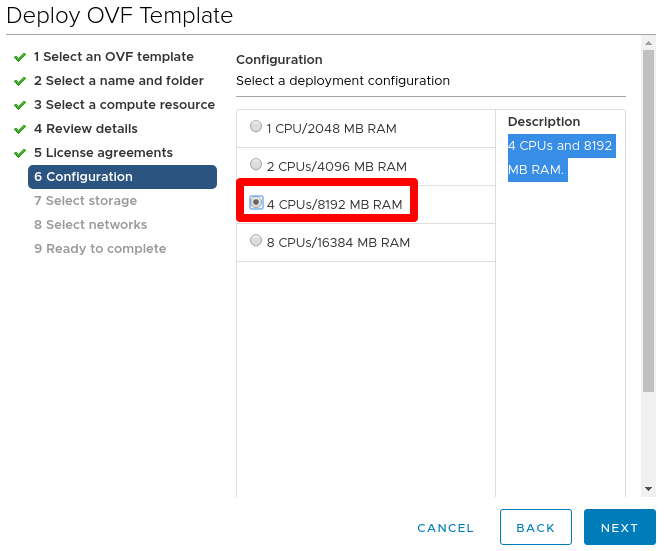
Select 4 CPUs/8192 MB RAM (this can be adjusted as needed depending on what you provision and configure on BIG-IP)
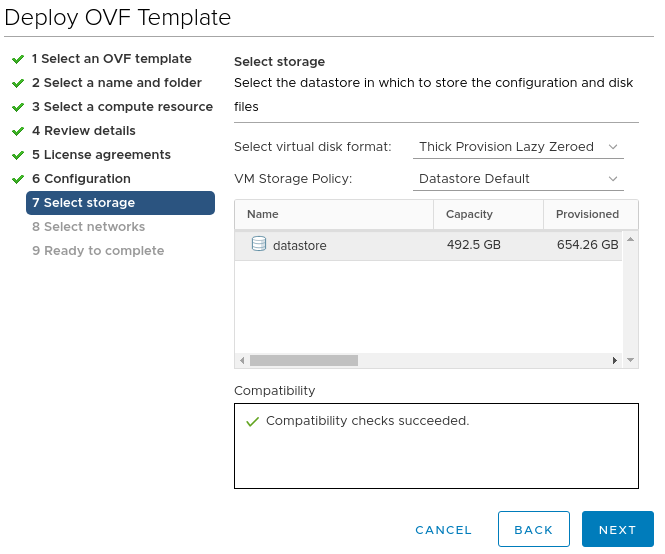
Leave default storage configuration
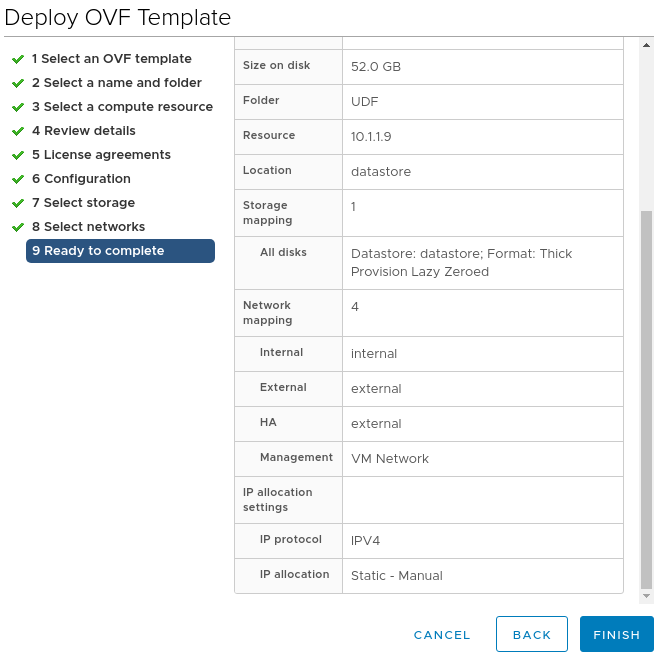
For networks, ensure that the Management NIC is associated with the network that has DHCP enabled and confirm other NIC networks. You can ignore the IP allocation settings

Review all settings and click Finish to deploy
Power on device
Step 2: Prepare BIG-IP to be a clone instance, and shutdown
Open the web console and log into device using default credentials (root/default). Change password to a strong password as required from v14.1.0
Delete f5-rest-device-id directory file. This forces the REST device ID files to be uniquely generated the next time you start the clone
rm -f /config/f5-rest-device-idDelete the BIG-IP VE clone instance-generated SSH keys
rm -f /config/ssh/ssh_host_*rm -f /shared/ssh/ssh_host_*(BIG-IP 14.1.0 and later only) Reset the device administrative account passwords to their default values
echo "root:default" | chpasswdecho "admin:admin" | chpasswdPower off the BIG-IP VE clone template instance
shutdown -h now
This completes the BIG-IP Template Creation - DHCP.